Now you can have your own server in Dirty Bomb, but how do you connect to and update settings in game? Well look no further. Here’s a step-by-step guide on how to do just that:
- To find your server, open Dirty Bomb and click ‘Play’

- Select ‘Server Browser’

- Type in your server name in the ‘Search’ box
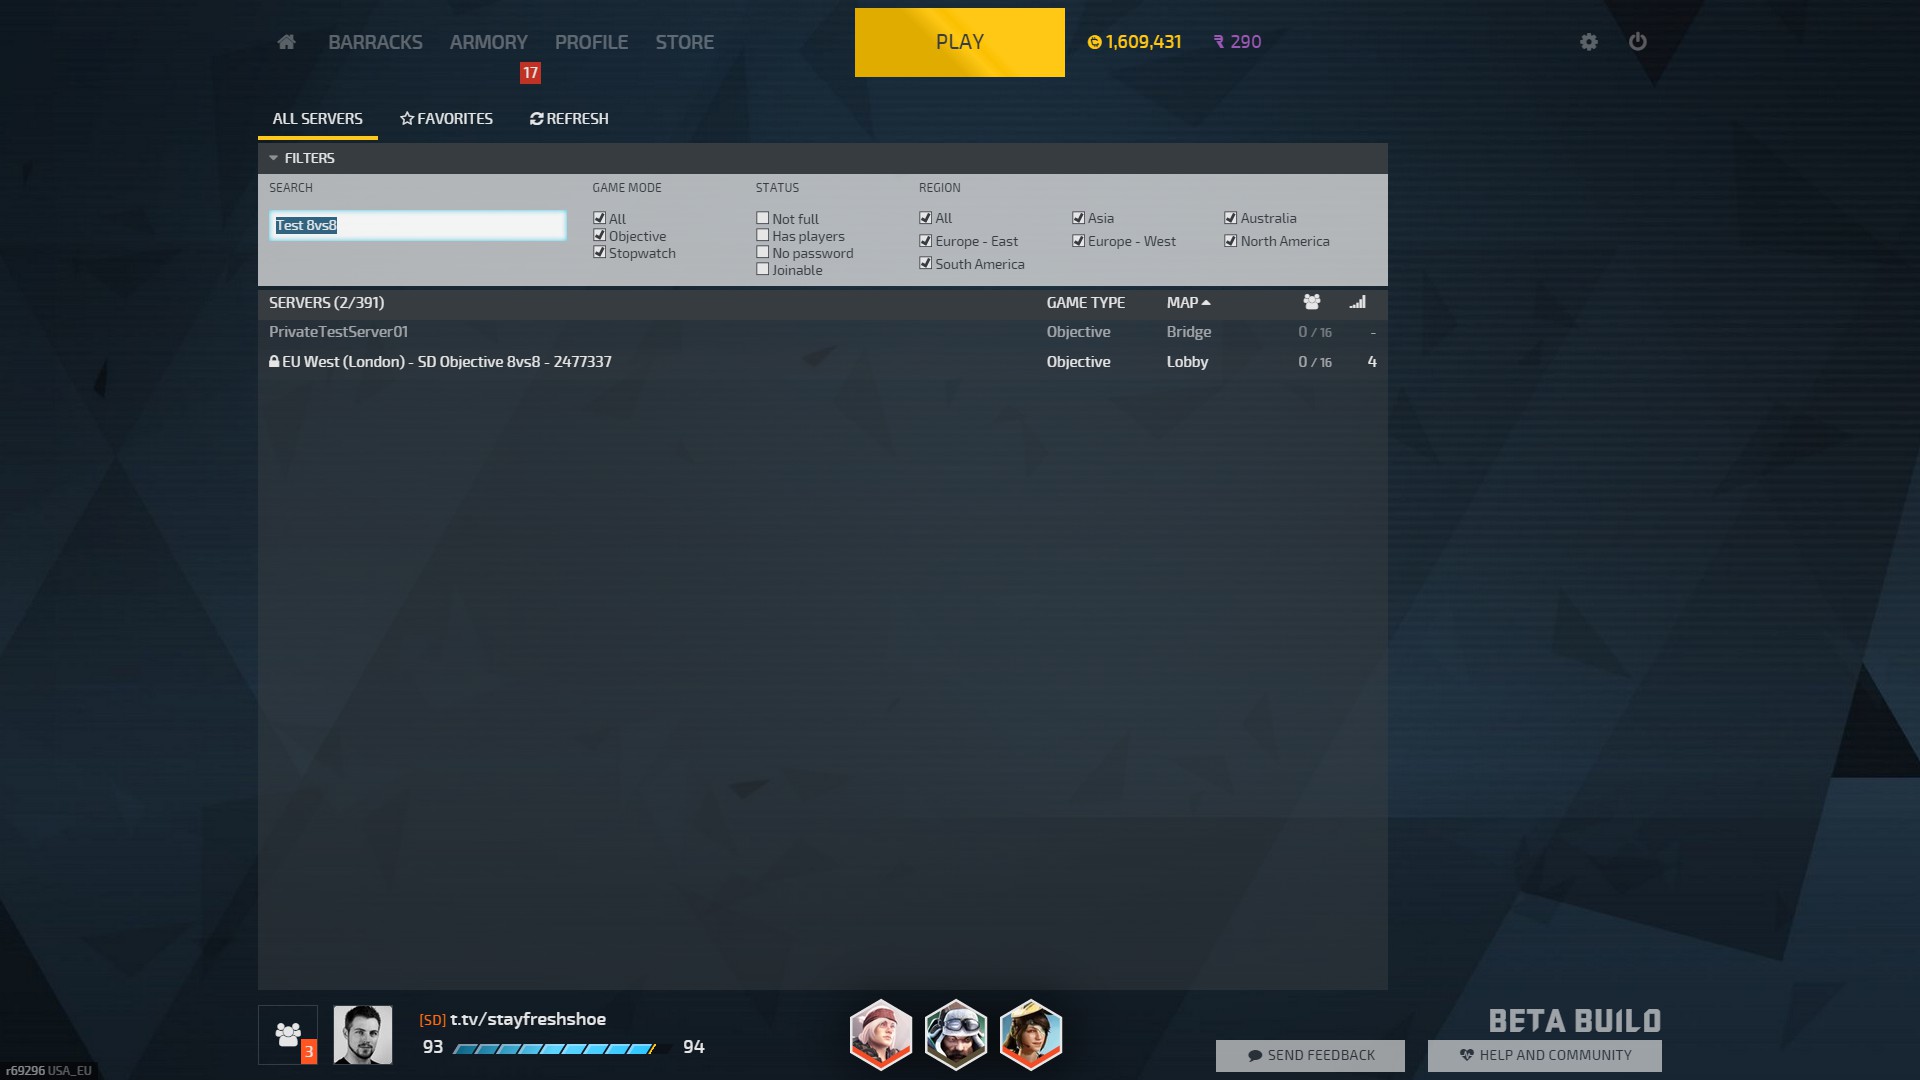
- Double click the server and click ‘Join’ or right-click and select ‘Join with Password’

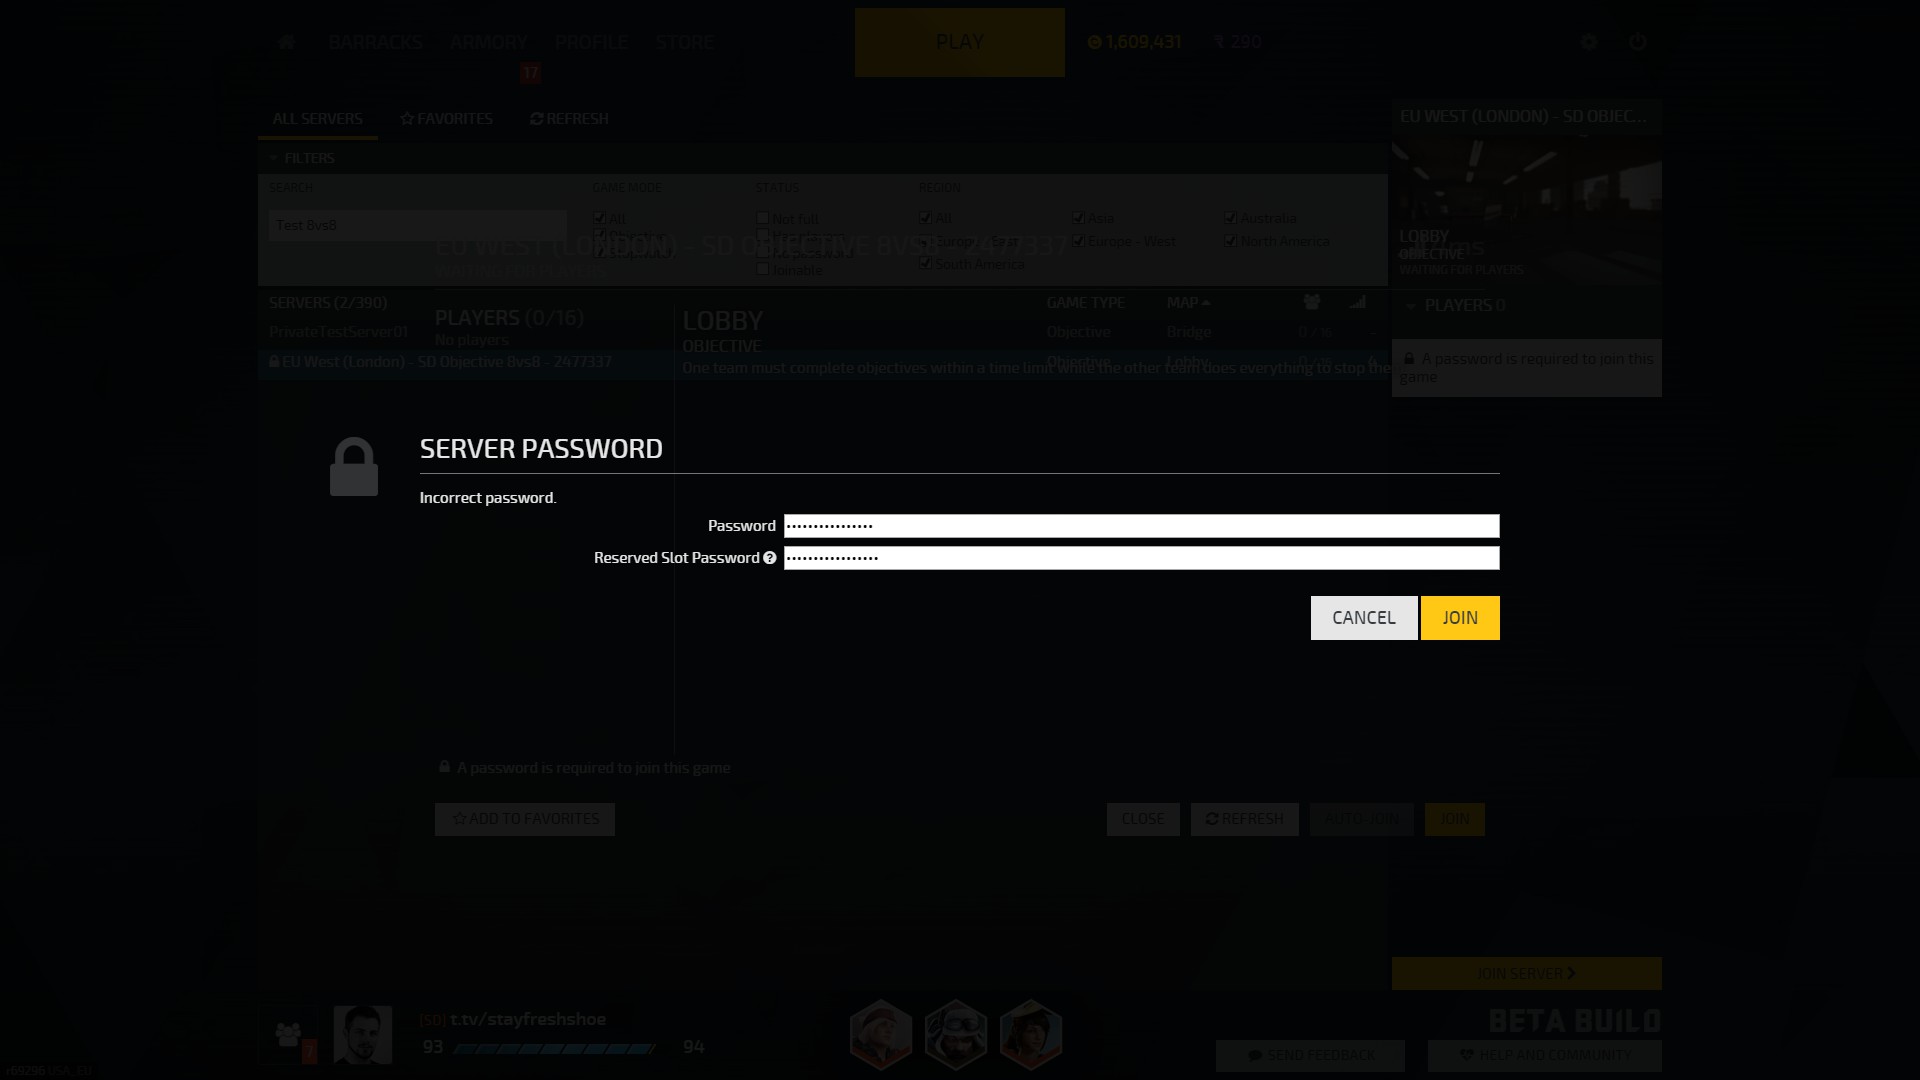
- Type in the server password and click ‘Join’. If you’re joining using a reserved slot, insert that password too
- Once you’ve joined the server, press ‘ (apostrophe) on your keyboard to open the console (If you haven’t enabled the console already, you will need to do so in the Language settings page on the Main Menu’)
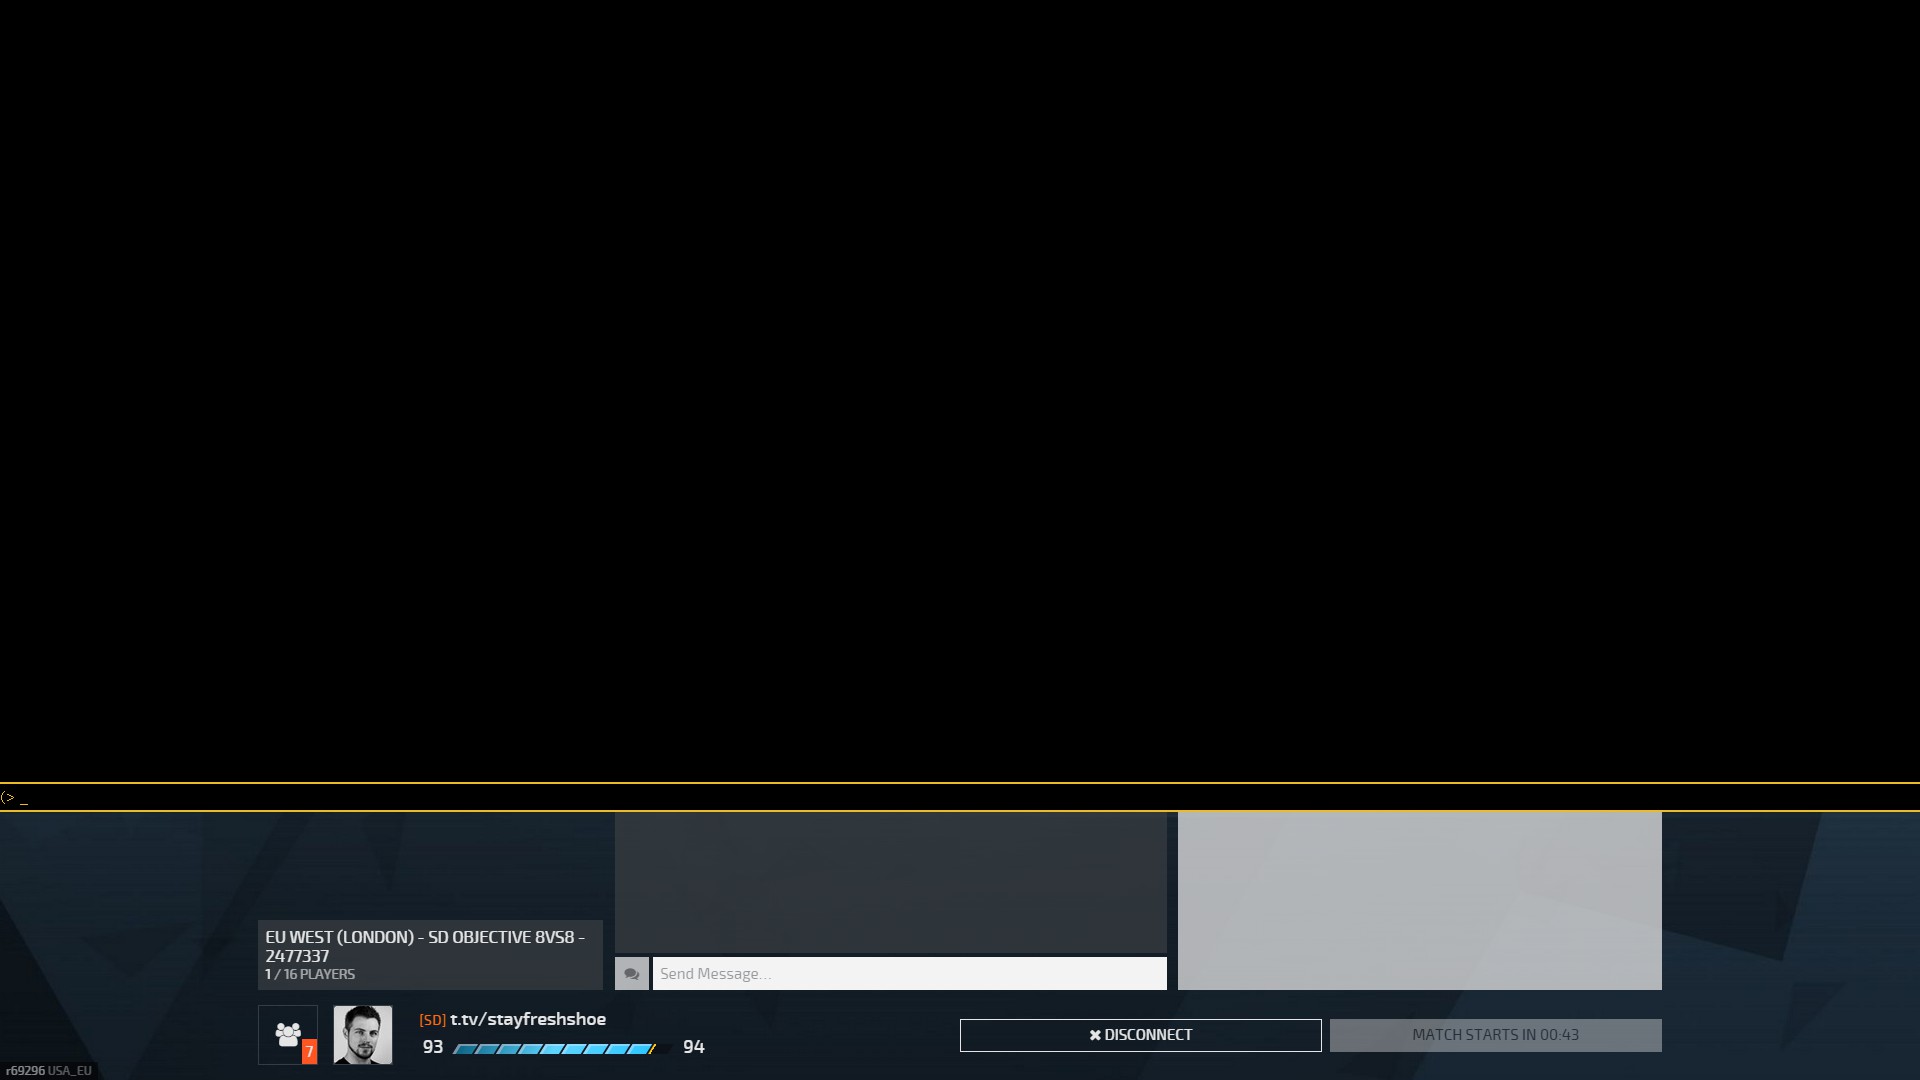
- In the console type ‘adminlogin PASSWORD’ but replace PASSWORD with the password you’ve set for admin privileges and hit enter. You are now logged in as admin. Close the console by pressing ‘ and load into a map

- Once you’ve loaded into a map, press F5 to see the vote menu and select the option called ADMIN to view the admin panel
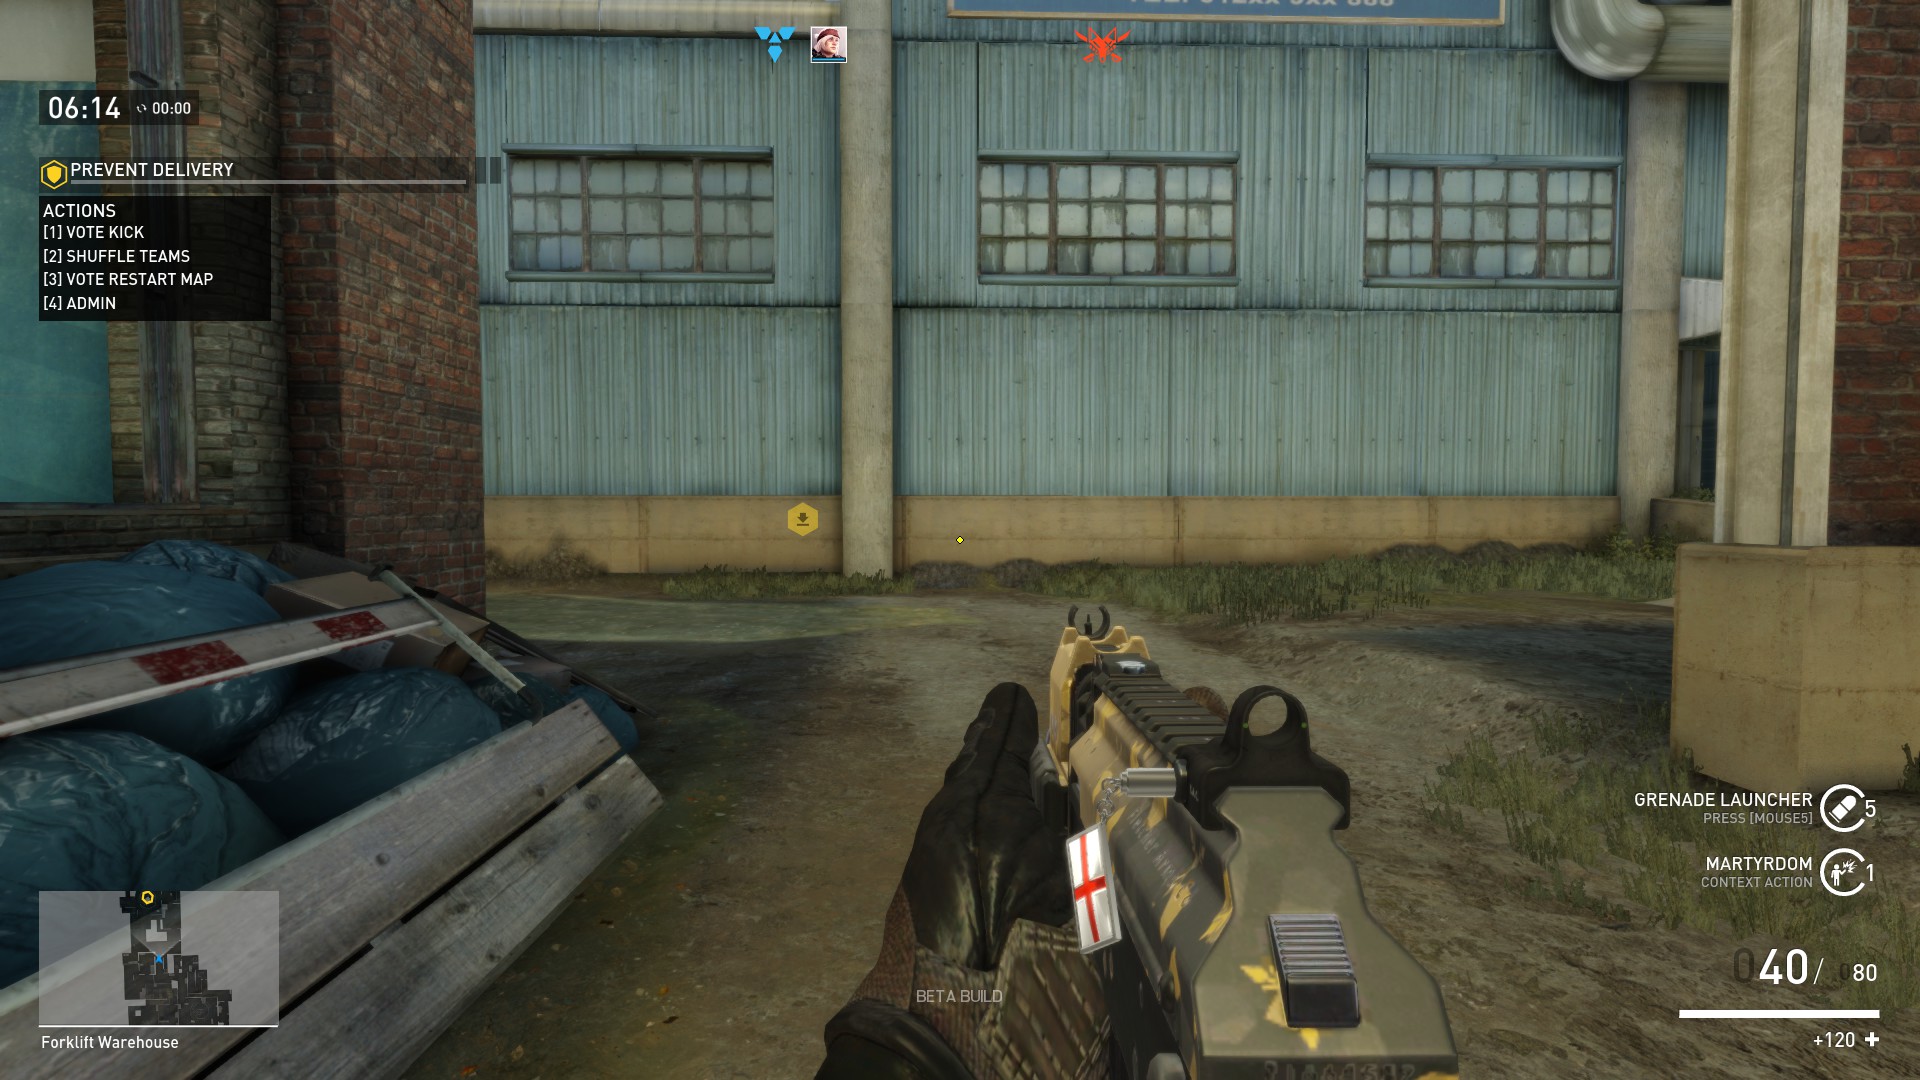
- From the admin panel you can control a select number of options including banning players and changing the map. If you would like to do anything beyond these options (such as adding or removing maps from the map pool) you will need to do it in the server config settings in ClanForge.

NOTE:
By default, when you try to kick a player only 8 names will be shown per page. To view other pages use the +/- keys. The UI is not yet implemented to explain this, but will be added in a future update